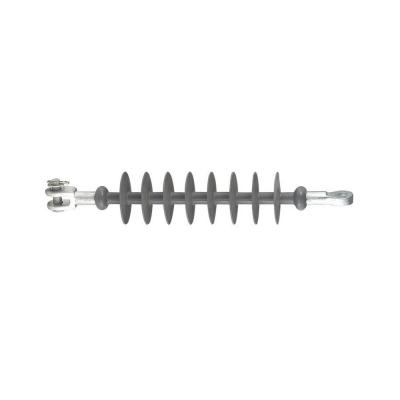
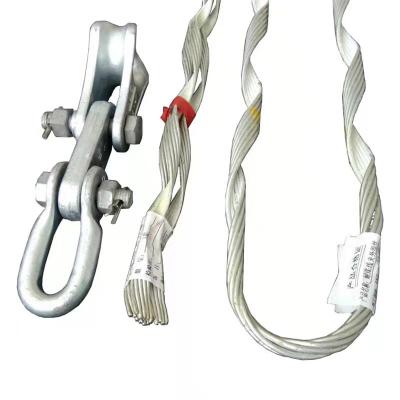
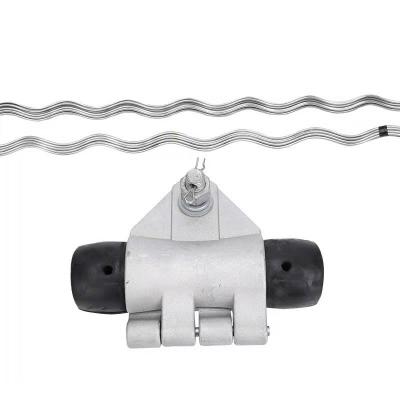
ADSS Protective Helix for 13.5mm
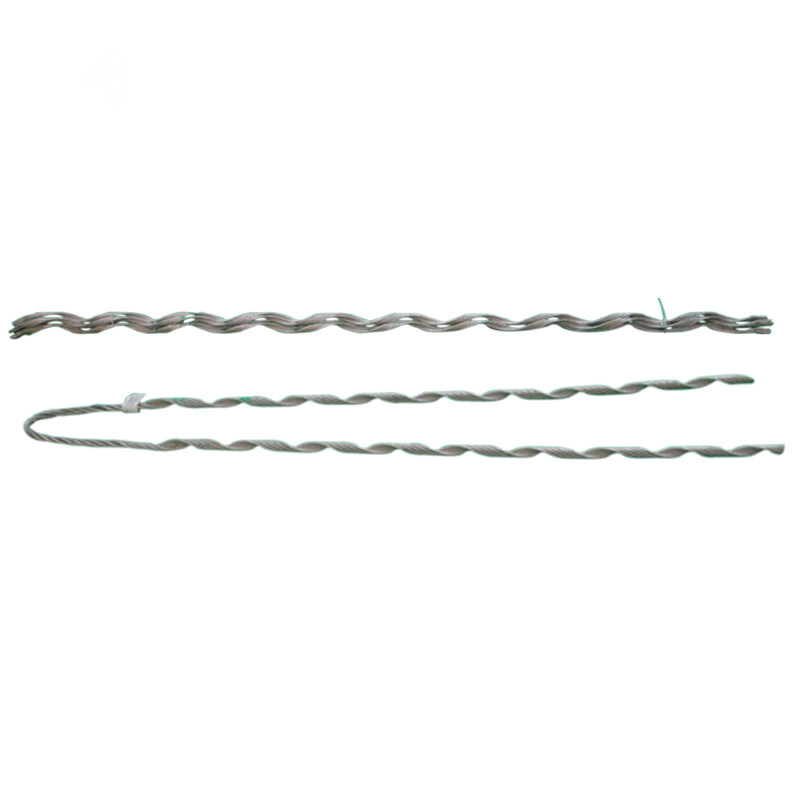
ADSS preformed tension set 200M span is suitable for overhead line ADSS optical cable, usage of poles and towers. For the integrity and performance of the ADSS tension set clamp function, in principle, the preformed dead end clamp can only be used once to keep safety and it is not allowed to repeat using. For good performance and personal safety, it is necessary to make sure whether the model and specifications of the fittings are consistent with the requirements of the optical cable before use.
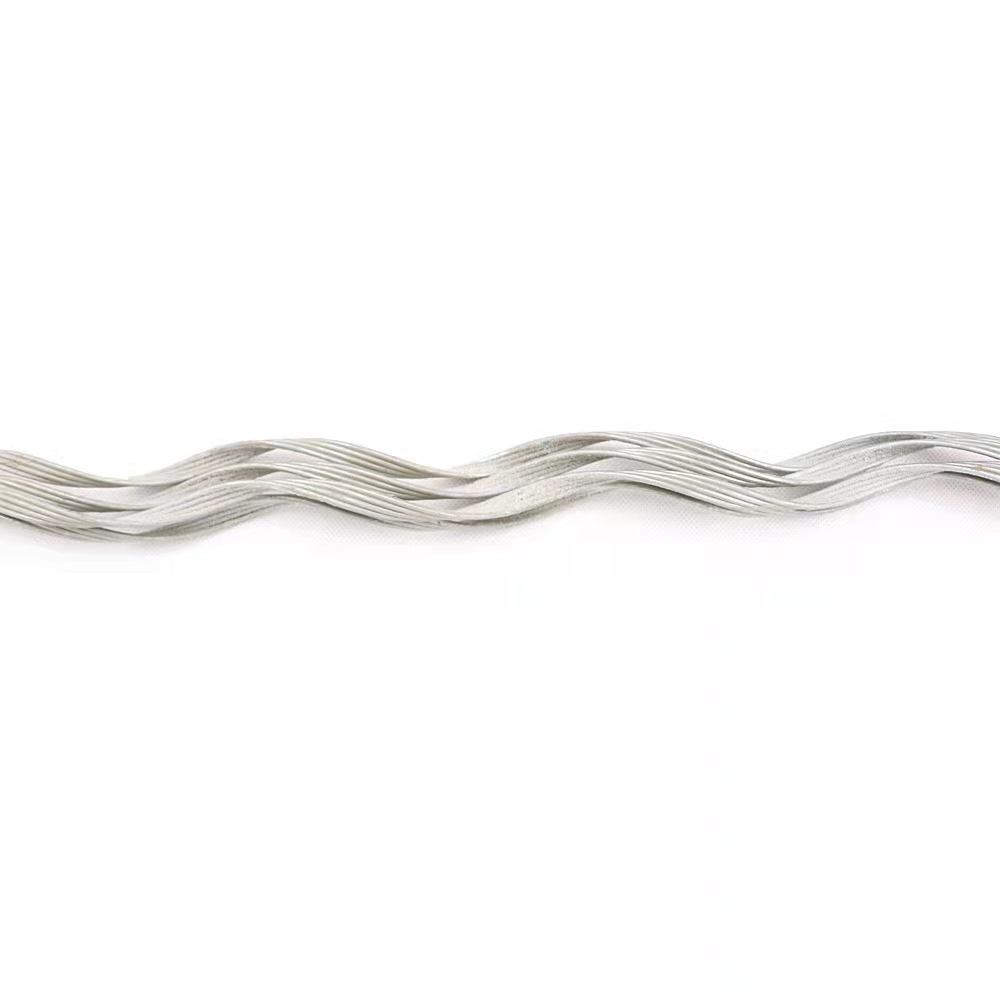
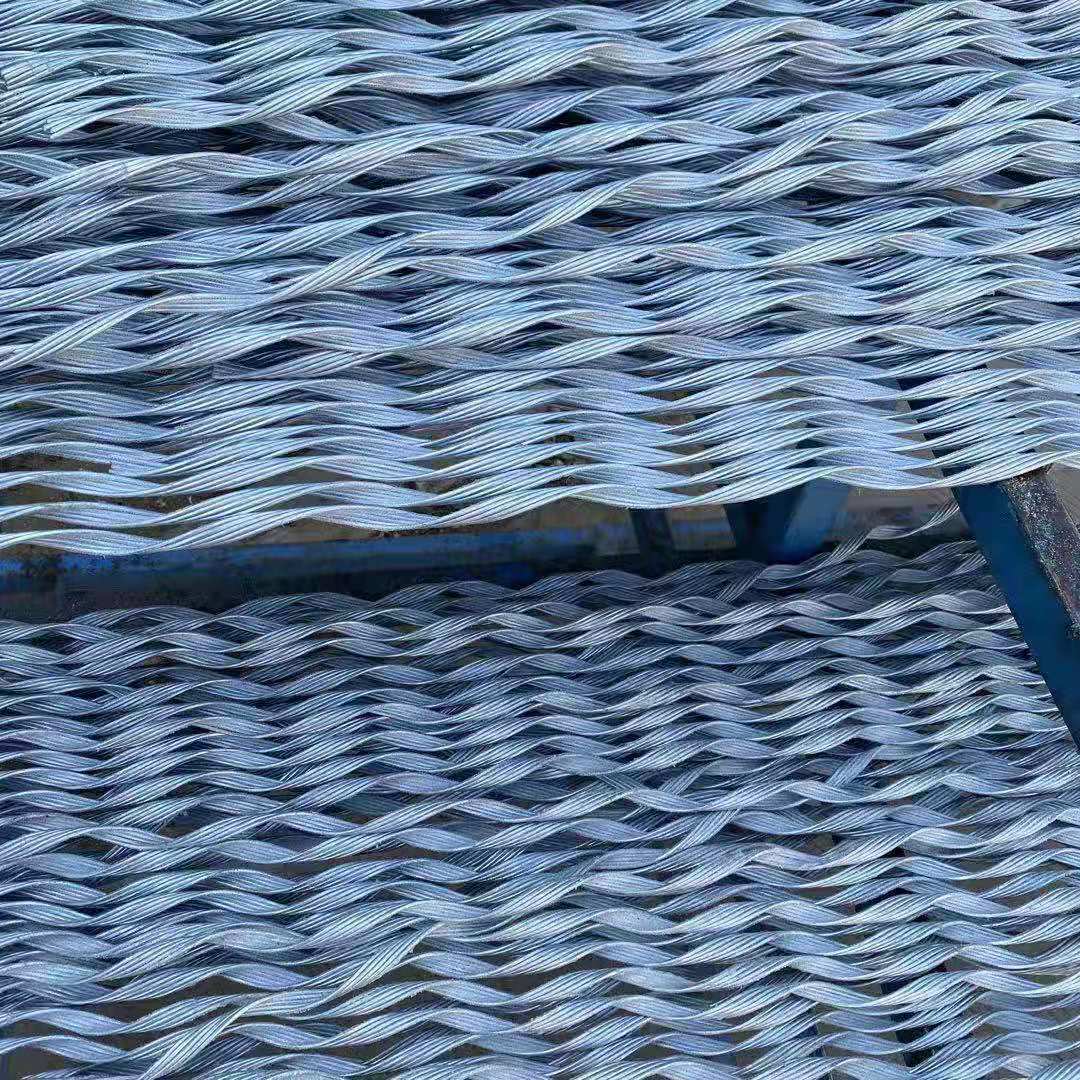
The medium and high tension strain clamps are composed of a double-layer twisted wire structure. The tensile inner twisted wire is made of galvanized steel wire or aluminum-clad steel wire. The inner wall of the pre-twisted wire is stuck with a layer of fine emery to increase friction. The pre-twisted wire is preformed into four sub-bundles during processing to avoid installation errors and facilitate quick installation. The ends of the pre-twisted wires are bent radially outward to avoid squeezing and damaging the optical cable. The tensile outer stranded wire is made of galvanized steel wire or aluminum-clad steel wire. The pre-twisted wire is preformed into a bundle during processing, and a firm layer of emery is adhered to the inner wall to increase the resistance to the optical cable under the condition of reducing lateral pressure The grip of the tension clamp.
| Sn | Model No. | Suitable for ADSS cable range(mm) |
| 300M span | ANZ 030/0940 | 8.6-9.4 |
| ANZ 030/1010 | 9.5-10.1 | |
| ANZ 030/1070 | 10.2-10.7 | |
| ANZ 030/1140 | 10.8-11.4 | |
| ANZ 030/1220 | 11.5-12.2 | |
| ANZ 030/1290 | 12.3-12.9 | |
| ANZ 030/1370 | 13.0-13.7 | |
| 400M span | ANZ 040/1220 | 11.5-12.2 |
| ANZ 040/1290 | 12.3-12.9 | |
| ANZ 040/1370 | 13.0-13.7 | |
| ANZ 040/1460 | 13.8-14.6 | |
| ANZ 040/1550 | 14.7-15.5 | |
| ANZ 040/1650 | 15.6-16.5 | |
| 500M span | ANZ 050/1370 | 13.0-13.7 |
| ANZ 050/1460 | 13.8-14.6 | |
| ANZ 050/1550 | 14.7-15.5 | |
| ANZ 050/1650 | 15.6-16.5 |
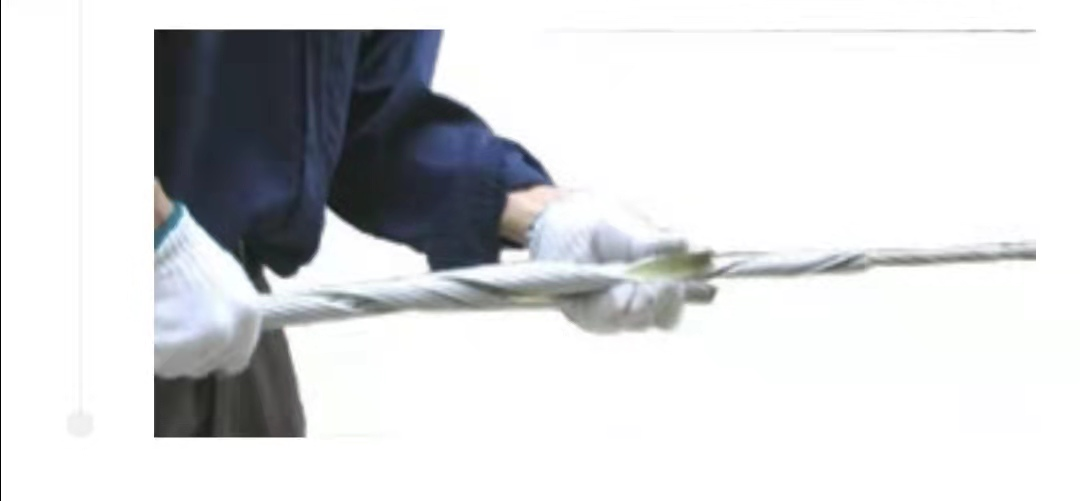
Installation steps:
1.Align the installation mark of the outer wire with the optical cable and mark the installation.
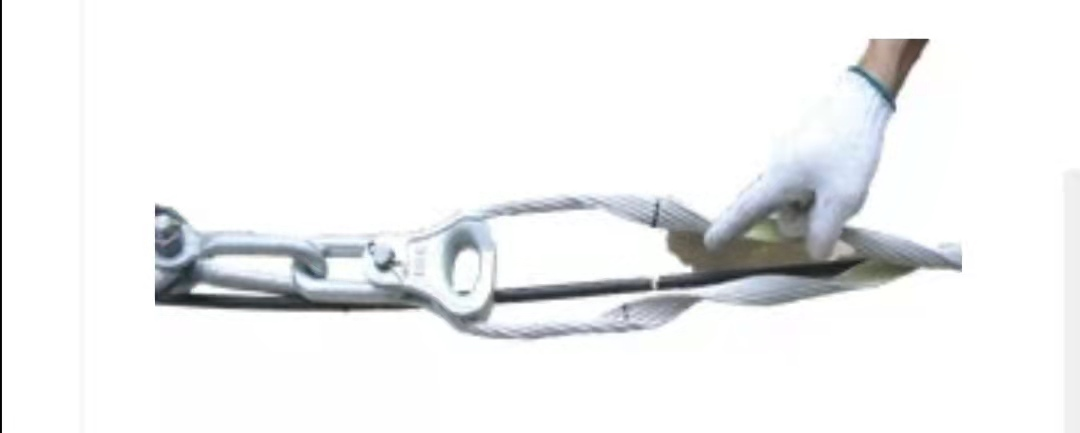
2.Align the first set of inner wire marks with the optical cable marks.

3.The third group does the same as the second group.
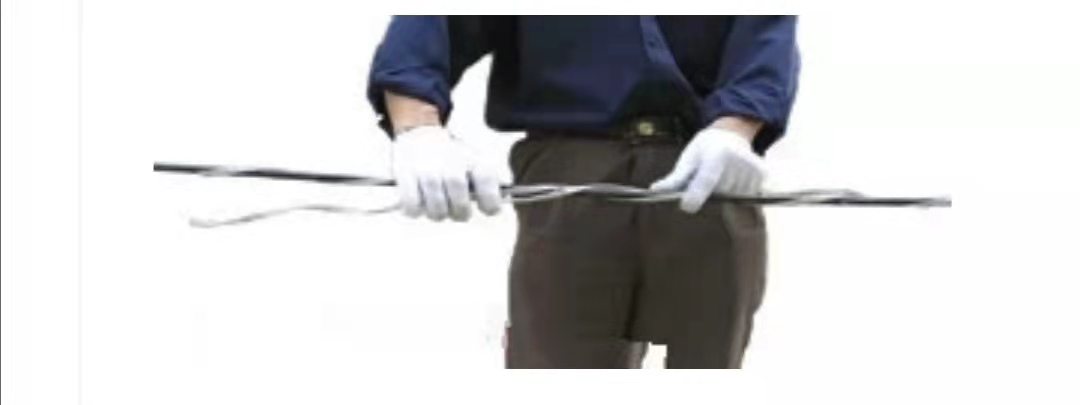
4.All the inner wires are installed.
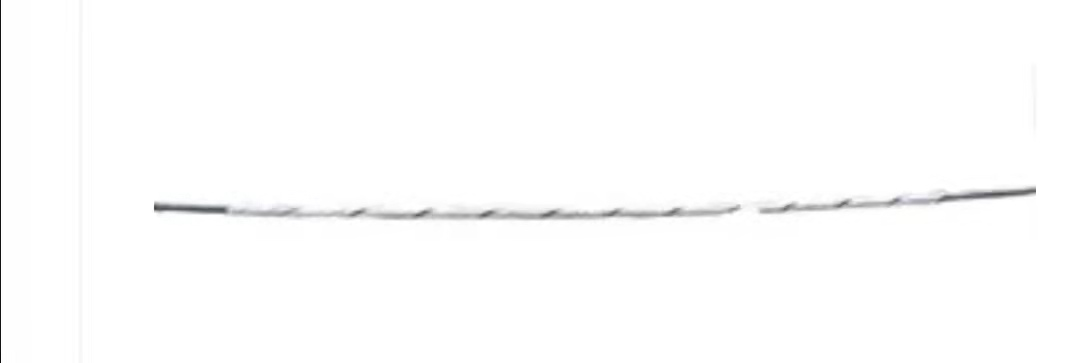
5.Align the outer wire installation mark with the inner wire installation mark.

6.Wrap one leg first.

7.Wind the other leg again.
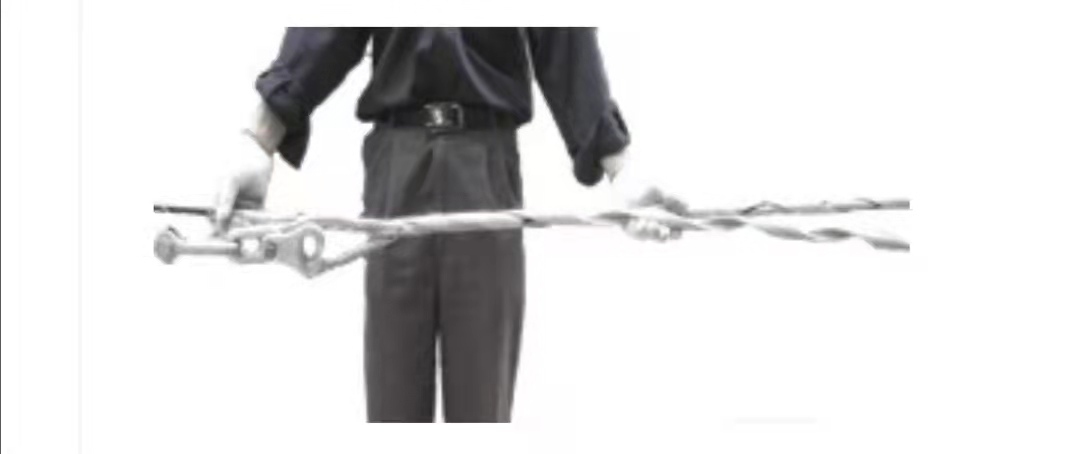
8. Wrap the end of the outer wire well.
Related Products
Related News
Submitted successfully
We will contact you as soon as possible

