
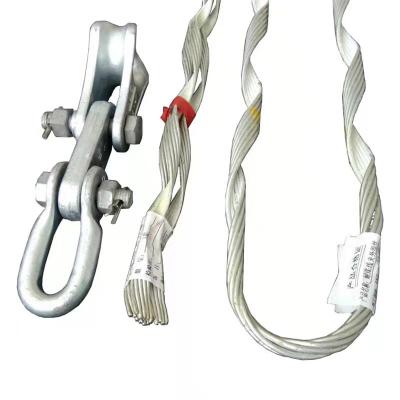
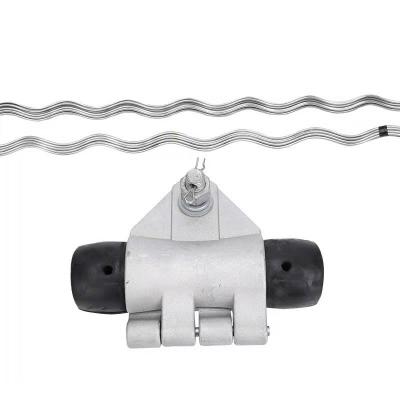
ADSS Terminating Helix Dead End
ADSS spiral helical dead end is suitable for overhead line ADSS optical cable, usage of poles and towers. For the integrity and performance of the ADSS tension set clamp function, in principle, the preformed dead end clamp can only be used once to keep safety and it is not allowed to repeat using. For good performance and personal safety, it is necessary to make sure whether the model and specifications of the fittings are consistent with the requirements of the optical cable before use.
Product Details
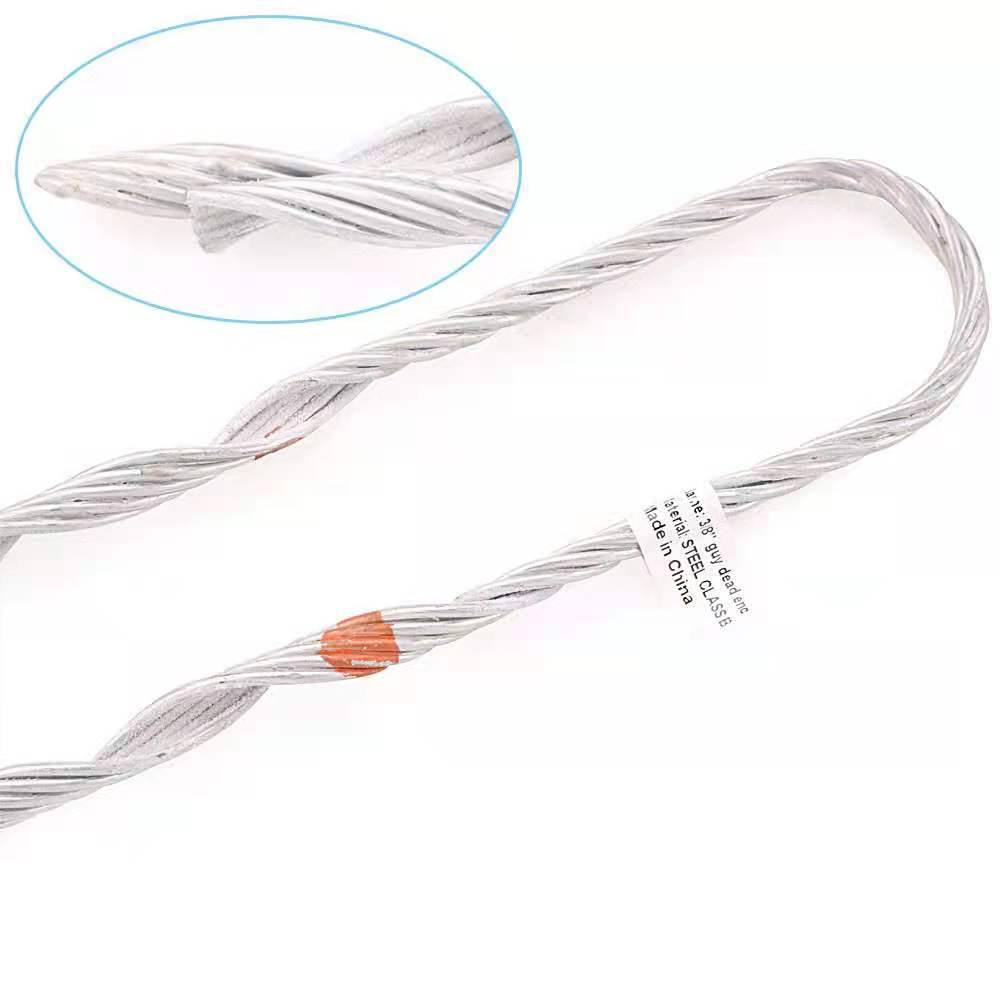
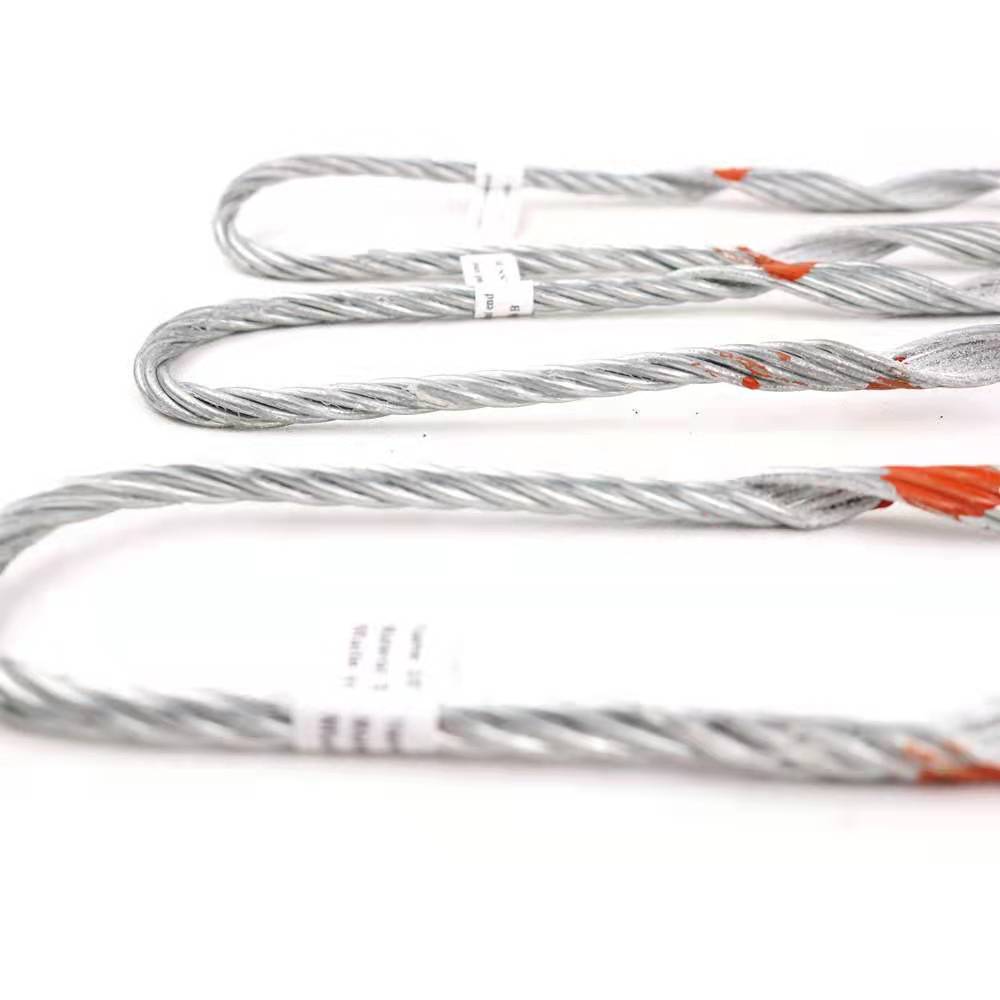
ADSS terminating helix dead end is made of aluminum-clad steel wire, and the pre-twisted wire is preformed into a bundle during processing, and a firm layer of emery is glued to the inner wall to increase the grip of the tension clamp under the condition of reducing the side pressure on the optical cable. In order to avoid installation errors and facilitate quick installation, the pre-twisted wires are painted with color marks for the exchange of pre-twisted wires.
Technical specification:
-Design for quick and easy installation
-Minimizing time consuming civil works
-Provide a future proof aerial network
-Temperature: -10°C up to +70°C
Sn | Model No. | Suitable for ADSS cable range(mm) |
300M span | ANZ 030/0940 | 8.6-9.4 |
ANZ 030/1010 | 9.5-10.1 | |
ANZ 030/1070 | 10.2-10.7 | |
ANZ 030/1140 | 10.8-11.4 | |
ANZ 030/1220 | 11.5-12.2 | |
ANZ 030/1290 | 12.3-12.9 | |
ANZ 030/1370 | 13.0-13.7 | |
400M span | ANZ 040/1220 | 11.5-12.2 |
ANZ 040/1290 | 12.3-12.9 | |
ANZ 040/1370 | 13.0-13.7 | |
ANZ 040/1460 | 13.8-14.6 | |
ANZ 040/1550 | 14.7-15.5 | |
ANZ 040/1650 | 15.6-16.5 | |
500M span | ANZ 050/1370 | 13.0-13.7 |
ANZ 050/1460 | 13.8-14.6 | |
ANZ 050/1550 | 14.7-15.5 | |
ANZ 050/1650 | 15.6-16.5 |
Installation steps:
1.Align the installation mark of the outer wire with the optical cable and mark the installation.

2.Align the first set of inner wire marks with the optical cable marks.

3.The third group does the same as the second group.

4.All the inner wires are installed.

5.Align the outer wire installation mark with the inner wire installation mark.

6.Wrap one leg first.

7.Wind the other leg again.8.Wrap the end of the outer wire well.

8.Wrap the end of the outer wire well.

Product form
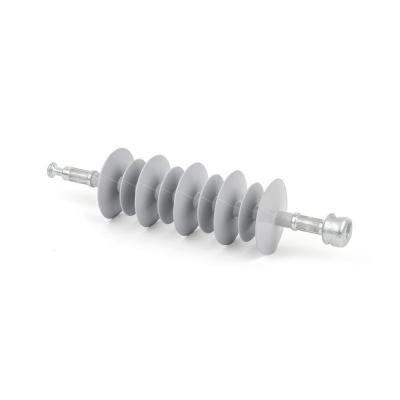
Related Products


Related News
Advantages of Anchoring Bracket Clamp
2022-11-14
What are the wires included?
2022-10-25
Submitted successfully
We will contact you as soon as possible
Close