
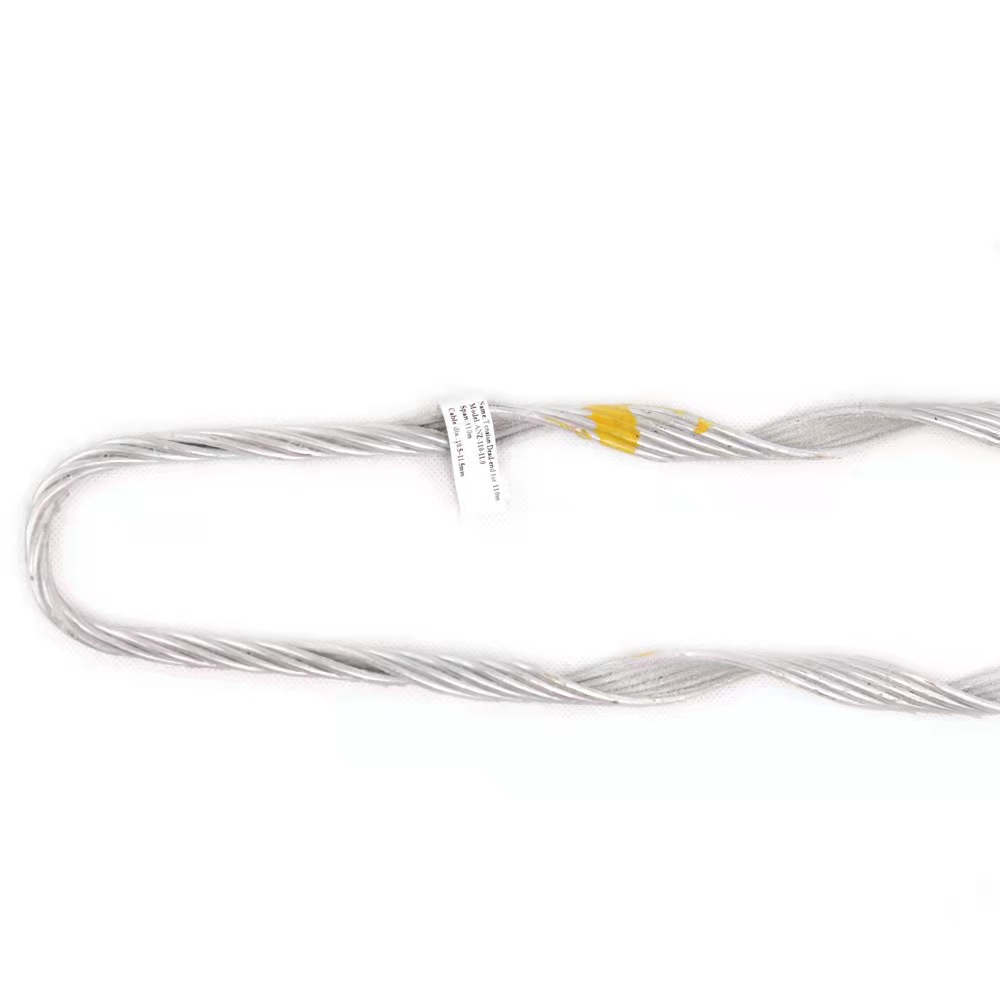
Guy Grip Short Span Dead End
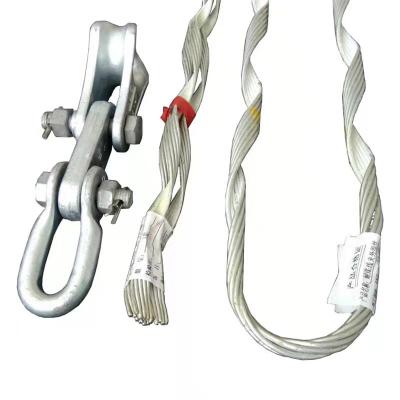
ADSS small-tension strain clamp: it is used to fix ADSS optical cable on the corner, strain, and terminal poles. The breaking load of all kinds of tensile fittings is not less than the calculated tensile force value of the optical cable. The pre-twisted wire type tensile hardware has the advantages of uniform stress distribution, no stress concentration points, good dynamic stress bearing capacity and good anti-corrosion performance.
Composition: outer guy grip, thimble clevis, extension ring, U-shaped ring, etc.
Purpose: To withstand full tension, connect ADSS optical cables to terminal poles, tensile poles and optical cable connection poles.
Product Details
The small tension strain clamp is used for the span under 100 meters. It is a single-layer pre-twisted wire structure. It is designed for the small span installation of ADSS optical cable. It is simple and reliable, and the installation is convenient and quick. More economical engineering solutions are provided for users.
Breaking force: 15KN
Recommended range: ≤100m
It is suitable for plains and areas with low wind speed.
Technical specification:
-Design for quick and easy installation
-Minimizing time consuming civil works
-Provide a future proof aerial network
-Temperature: -10°C up to +70°C

Item name | Model No. | Cable range(mm) | Diameter of each strand |
Guy grip short span dead end
| ANL 015/0950 | 9.0-9.5 | Φ2.9 |
ANL 015/1050 | 9.6-10.5 | ||
ANL 015/1160 | 10.6-11.6 | ||
ANL 015/1280 | 11.7-12.8 | ||
ANL 015/1410 | 12.9-14.1 | ||
ANL 015/1560 | 14.2-15.6 | Φ3.6 | |
ANL 015/1700 | 15.7-17.0 |
Installation steps:
1.Align the installation mark of the outer wire with the optical cable and mark the installation.

2.Align the first set of inner wire marks with the optical cable marks.

3.The third group does the same as the second group.

4.All the inner wires are installed.

5.Align the outer wire installation mark with the inner wire installation mark.

6.Wrap one leg first.

7.Wind the other leg again.

8. Wrap the end of the outer wire well.

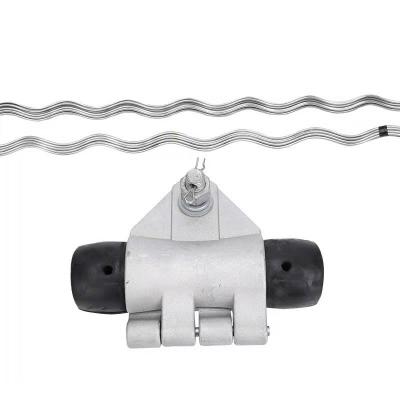
Product form
Related Products


Related News
Advantages of Anchoring Bracket Clamp
2022-11-14
What are the wires included?
2022-10-25
Submitted successfully
We will contact you as soon as possible
Close